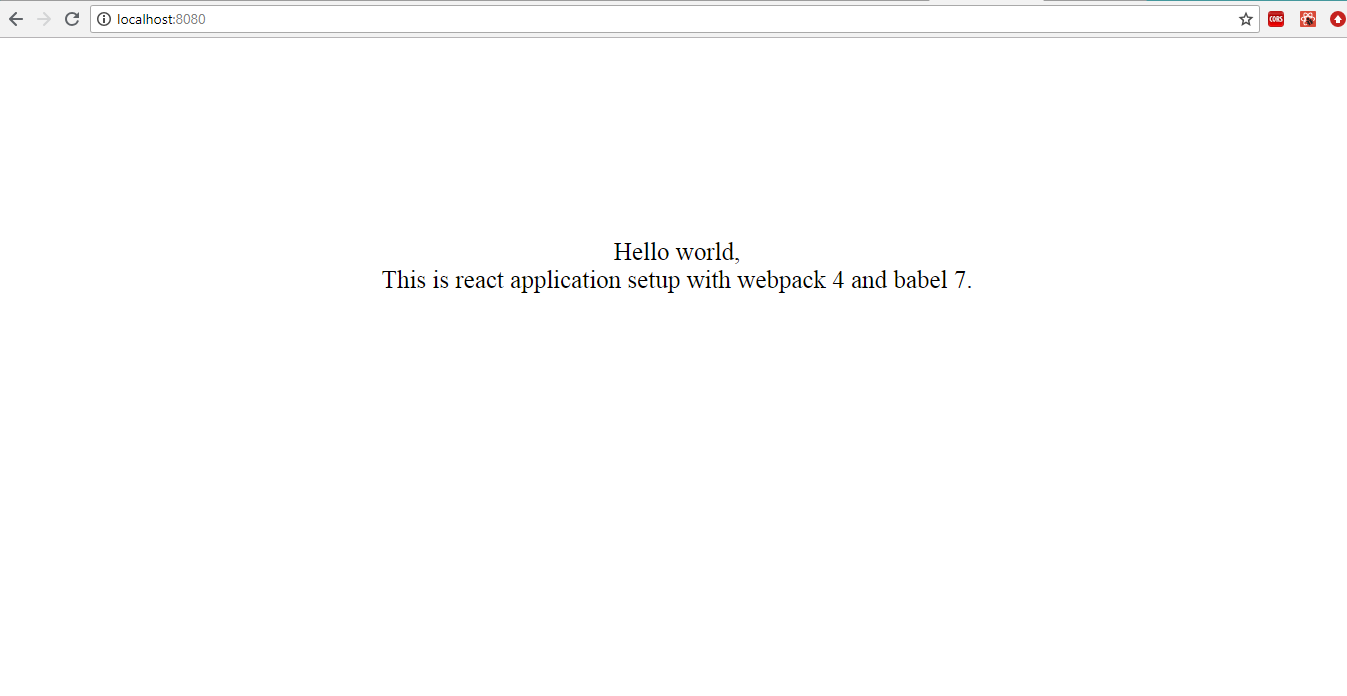
Now a days React.js is very popular library for the front end developers. Today I'm going to discuss a very important topic to start the react.js development.
Just to start with React.js we should know how to setup react js application.
I'm assuming you have installed node.js and NPM in your system.
Actually there are 2 ways to setup the react.js application at your system.
- React.js provides you facility to create the react application through the CLI (command line interface). Let me tell you how ? You know you just need to run only 2 command and you are ready for development.
12npm install -g create-react-appcreate-react-app my-app
You'll can install create-react-app globally to your system so that in future you will not need to install it again. What you will need is just type create-react-app your-app-name .Here my-app is your application name. You can change it whatever name you wanted to your application. - You can setup the react application with your custom configuration with the help of webpack and babel. Without going more theoretical let me explain the steps to setup the react application using webpack and babel.
Let suppose I have a directory react-setup and I'm into this directory.
Create a file named as package.json and inside package.json I have added all the dependencies which I need to run a react application. I also have setup the script commands for running project in development and to create the production build.
|
1
2
3
4
5
6
7
8
9
10
11
12
13
14
15
16
17
18
19
20
21
22
23
24
25
26
27
28
29
30
31
32
33
|
{
"name": "react-app-coding4developers",
"version": "1.0.0",
"description": "Coding 4 developers",
"main": "index.js",
"scripts": {
"start": "npm-run-all dev",
"dev": "webpack-dev-server --mode development",
"build": "webpack --mode production"
},
"keywords": [],
"author": "Coding 4 developers",
"license": "ISC",
"devDependencies": {
"@babel/cli": "^7.0.0",
"@babel/core": "^7.0.0",
"@babel/plugin-proposal-class-properties": "^7.0.0",
"@babel/preset-env": "^7.0.0",
"@babel/preset-react": "^7.0.0",
"babel-loader": "^8.0.2",
"babel-plugin-transform-runtime": "^6.23.0",
"css-loader": "^1.0.0",
"html-webpack-plugin": "^3.2.0",
"npm-run-all": "^4.1.3",
"webpack": "^4.25.1",
"webpack-cli": "^3.1.0",
"webpack-dev-server": "^3.1.8"
},
"dependencies": {
"react": "^16.5.0",
"react-dom": "^16.5.0"
}
}
|
Now go to project directory which is react-setup. And run the command
|
1
|
npm install
|
This will install all the dependencies inside node_modules folder. All the dependencies has been added in package.json
After that create a file webpack.config.js. Inside webpack.config.js I'm defining my application entry point, output of the application when you create the build, file extensions, some rules for loaders and files, plugin page path and the history api fallback.
|
1
2
3
4
5
6
7
8
9
10
11
12
13
14
15
16
17
18
19
20
21
22
23
24
25
26
27
28
29
30
31
32
33
34
35
36
37
38
39
40
|
const path = require("path");
const HtmlWebpackPlugin = require("html-webpack-plugin");
module.exports = {
entry: "./src/index.js",
output: {
path: path.join(__dirname, "/dist"),
filename: "index-bundle.js"
},
resolve: {
extensions: ['*', '.js', '.jsx'],
modules: ['node_modules']
},
module: {
rules: [
{
test: /\.js$/,
exclude: /node_modules/,
use: ["babel-loader"]
},
{
test: /\.jsx$/,
exclude: /node_modules/,
use: ["babel-loader"]
},
{
test: /\.css$/,
use: ["style-loader", "css-loader"]
}
]
},
plugins: [
new HtmlWebpackPlugin({
template: "./src/index.html"
})
],
'devServer': {
historyApiFallback: true
}
};
|
Since we need latest ES6 support to our application for that we have babel which will help us to get the features of ES6 and more freatures in our application. Now we need to create .babelrc file in our project directory.
|
1
2
3
4
5
6
7
8
9
10
11
12
13
14
15
16
|
{
"presets": [
[
"@babel/preset-env",
{
"targets": {
"node": "current"
}
}
],
"@babel/react"
],
"plugins": [
"@babel/plugin-proposal-class-properties"
]
}
|
If you have measured in webpack.config.js I have added my entry point which is index.js and should be inside src directory.
Now lets create src folder inside react-setup and then create index.js file in src folder.
|
1
2
3
4
5
|
import React from 'react';
import { render } from 'react-dom';
import { AppComponent } from './Components/app.component';
render(<AppComponent />, document.getElementById('root'));
|
Since I have defined my HTML webpack plugin template in webpack.config.js which is index.html and should be inside in src directory. So now lets create index.html inside src directory.
|
1
2
3
4
5
6
7
8
9
10
11
12
13
|
<!DOCTYPE html>
<html lang="en">
<head>
<meta charset="UTF-8">
<title>React App Setup | Coding 4 Developers</title>
</head>
<body>
<div id="root"></div>
</body>
</html>
|
Inside src/index.js we are rendering the templates in root id which is added in index.html. If you noticed we have used a component inside index.js. Now lets create this component.
Create a directory Component inside src. and create a file named as app.component.jsx inside Components folder.
|
1
2
3
4
5
6
7
8
9
10
11
12
13
14
15
|
import React, { Component } from 'react';
class AppComponent extends Component {
render() {
return (
<div style={{ textAlign: 'center', marginTop: '200px', fontSize: '25px' }}>
Hello world,
<br />
This is react application setup with webpack 4 and babel 7.
</div>
);
}
}
export { AppComponent }
|
Now we are all done to run our first customized setup react application. To start the application run the following command:
|
1
|
npm start
|
To create the production build you can run the below command:
|
1
|
npm run build
|


